Deploying Frontend Apps on AWS CloudFront: A Step-by-Step Guide for Developers
Many developers out there are using popular frontend hosting platforms like Vercel or Netlify to host their frontend applications. These platforms are quite developer friendly so it becomes easy for a new developer to host their code on these platforms to showcase their projects or portfolio.
Meanwhile in an enterprise where most of the workloads are running on Cloud platforms like AWS. AWS provides various option to run your code. You can either use AWS Amplify to build and host your code. Or you can create a EC2 server, configure NGINX inside that server and then host your code inside it. Although these AWS services lack some features like Caching and the pricing might be a bit on a higher side.
So, the industry standard practice is hosting the code using Cloudfront and S3
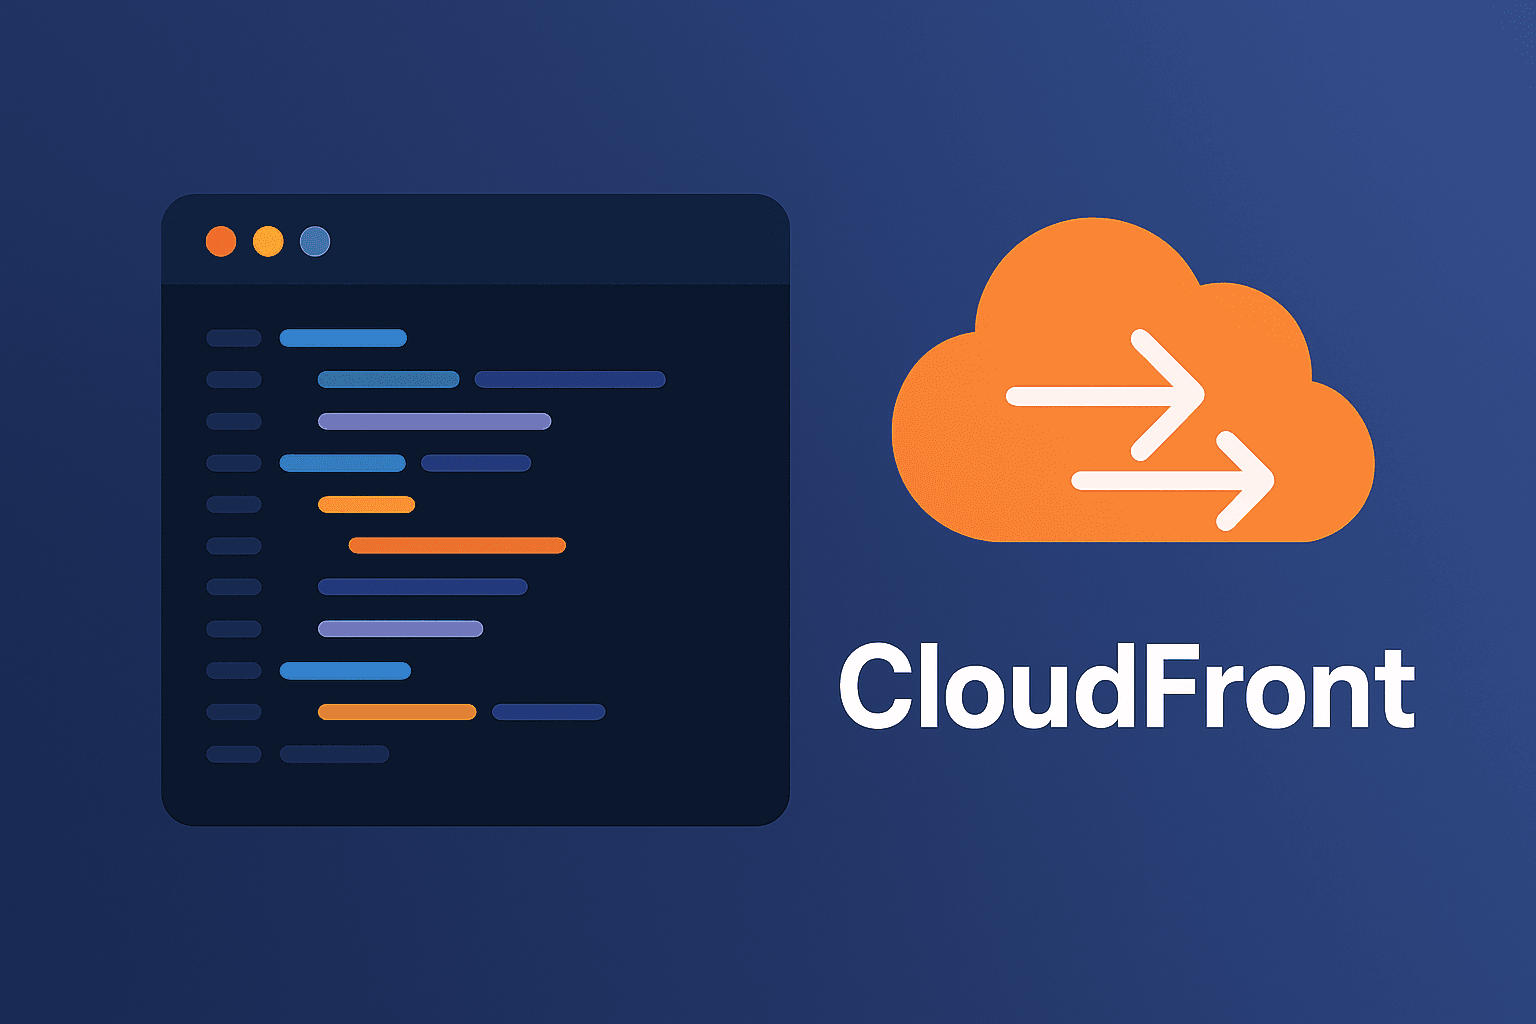
What is Cloudfront?
AWS CloudFront is a Content Delivery Network (CDN) that distributes your application across multiple edge locations worldwide. Here's why it's perfect for frontend applications:
Global Performance: Your app loads quickly regardless of user location
Cost-Effective: Pay only for what you use, with a generous free tier
SSL/HTTPS: Free SSL certificates for secure connections
Scalability: Handles traffic spikes effortlessly
Low Latency: Edge caching reduces server response times dramatically
What is S3?
S3 stands for Simple Storage Service. It is a Storage service offered by AWS where you can store anything. Consider it like a Google Drive but in AWS.
Here’s what our setup looks like:
S3 Bucket: Stores your static React build files
CloudFront Distribution: Serves content from edge locations worldwide
Route 53 (Optional): Manages your custom domain
Step-by-Step Deployment
1. Build Your React Application
First, create your production-ready build:
npm run build
This generates an optimized build/ folder with all your static assets.

2. Create an S3 Bucket
Log into AWS Console and create an S3 bucket:

Enter a unique name under Bucket Name and keep other settings as it is.
Click on Create Bucket
3. Upload Your Build Files
Once your S3 Bucket is created . Upload everything from your build/ folder to the S3 bucket.


4. Create CloudFront Distribution
This is where the magic happens:
Create a Cloudfront Distribution

Give a distribution name and click Next

Make sure the origin type is selected as Amazon S3 and then click on Browse S3 button to select your S3 bucket

Leave other options as it is and then click on Next

As of now click on “Do not enable security protections” to save WAF costs and click Next.
Note - In production use cases, you should always enable WAF to avoid security attacks like SQL injection, DDoS etc.
Click on Create distribution to create the cloudfront distribution
7. Wait and Test
CloudFront distributions take 15-20 minutes to deploy. Once complete, you'll get a CloudFront URL like d1234abcd.cloudfront.net.

Click on Edit button

Enter the default root object as index.html so that the user will be directly redirected to index.html page once he hits our cloudfront URL
Click on Save Changes and wait for few minutes until the new changes get deployed
After few minutes, hit the cloudfront URL and you can see your frontend react application

Conclusion
Hosting your React application on CloudFront provides enterprise-grade performance and reliability without the complexity. The combination of S3 for storage and CloudFront for distribution creates a robust, scalable solution that can handle traffic from a handful of users to millions.
The setup process might seem involved initially, but once configured, deployments are straightforward. Your users get blazing-fast load times, you get peace of mind knowing your app scales automatically, and your wallet stays happy with AWS's competitive pricing.
Please delete all the AWS resources when not in use to save costs.